Just like for the tiny watering can, I wanted to play around a bit with some metal and create something decorative. Thinking about random objects, I started to find particularly interesting the geometries of lanterns. Many times, geometric constructions can be much more challenging than free-form shapes, so I sketched some ideas and picked up the challenge.
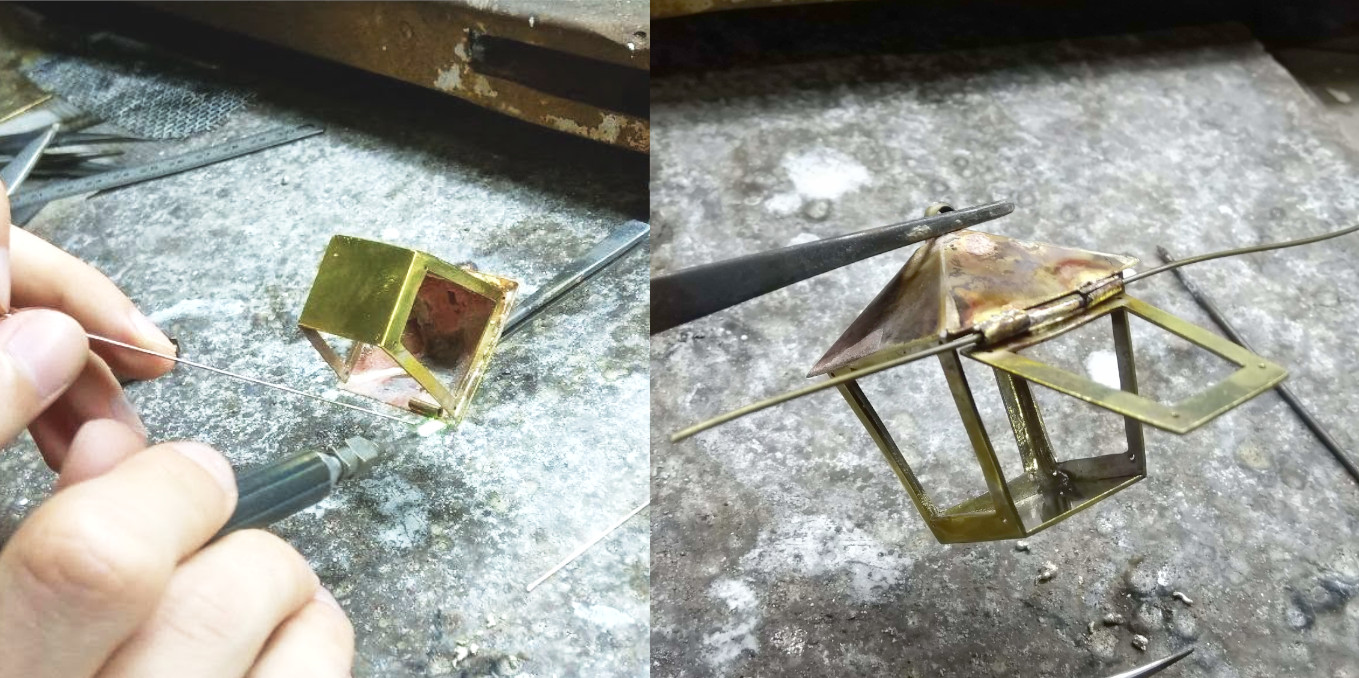
I started from the actual lantern, the piece that holds the lamp. I modelled a small pyramid with a quadrilateral base to form the top piece.

Next, the body of the lantern:

One of the sides is cut away because I wanted to add an hinge to it so that it could act as a door. To make the hinge, I soldered three hollow pipes (two to the lantern and one to the door) and riveted a wire across them.
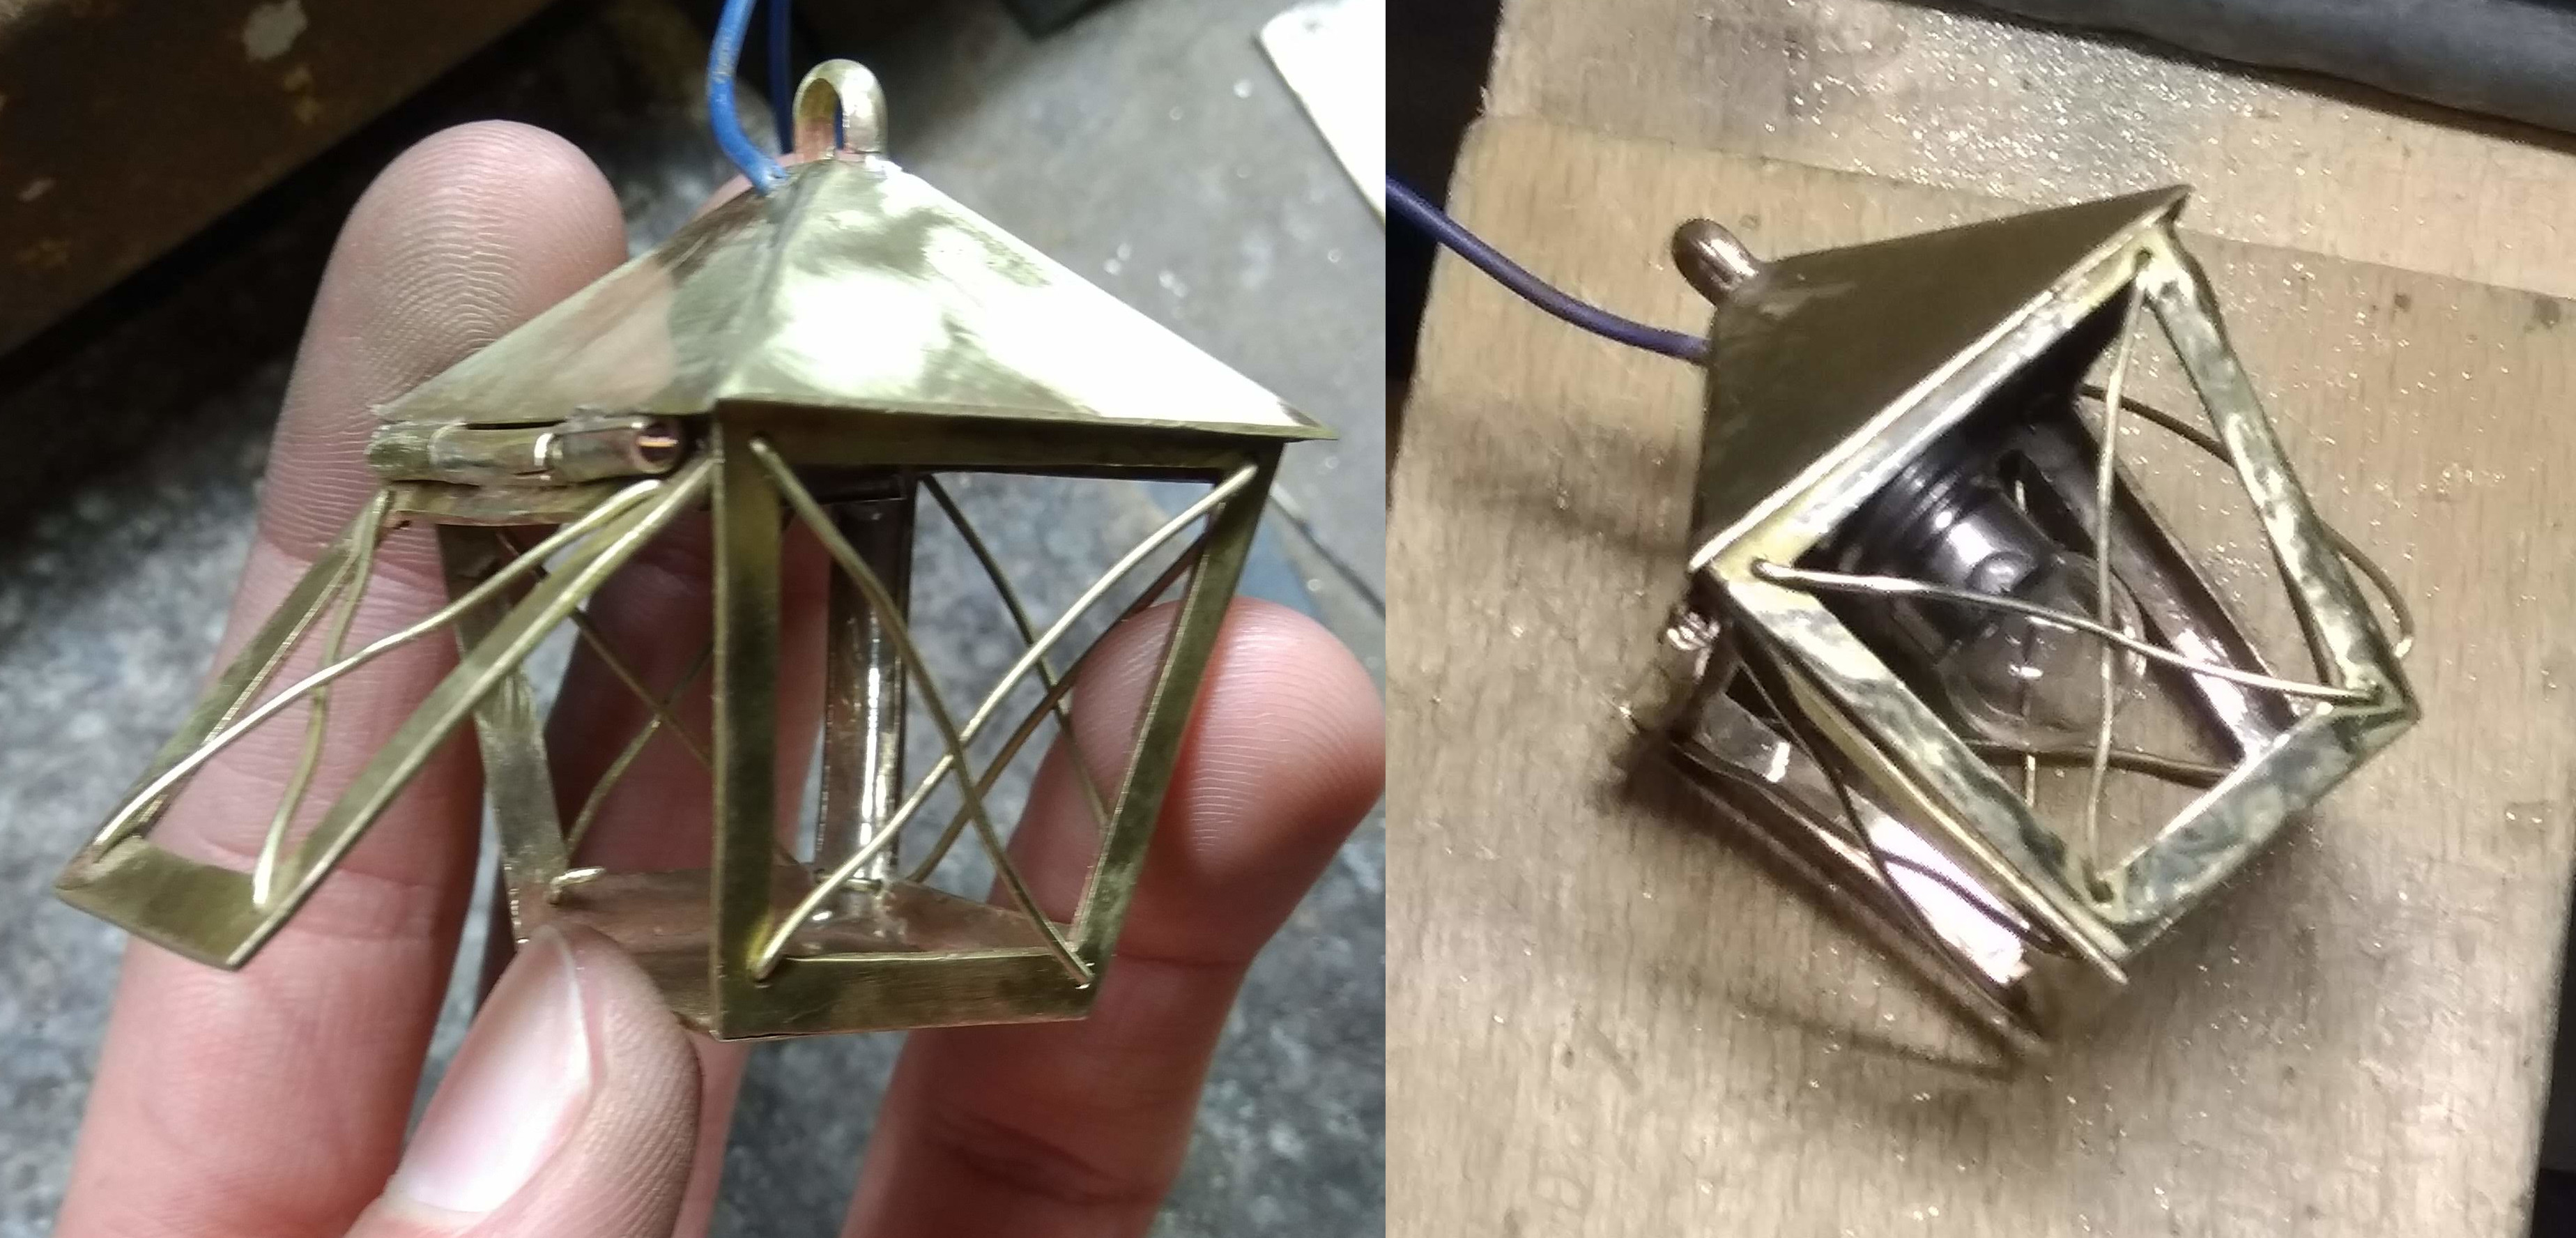
Next, I riveted the decorating wires to the four windows and glued inside the 3V lamp holder. Instead of running two wires all the way through the lantern I thought I could only run the positive wire and use the brass body as the ground terminal.
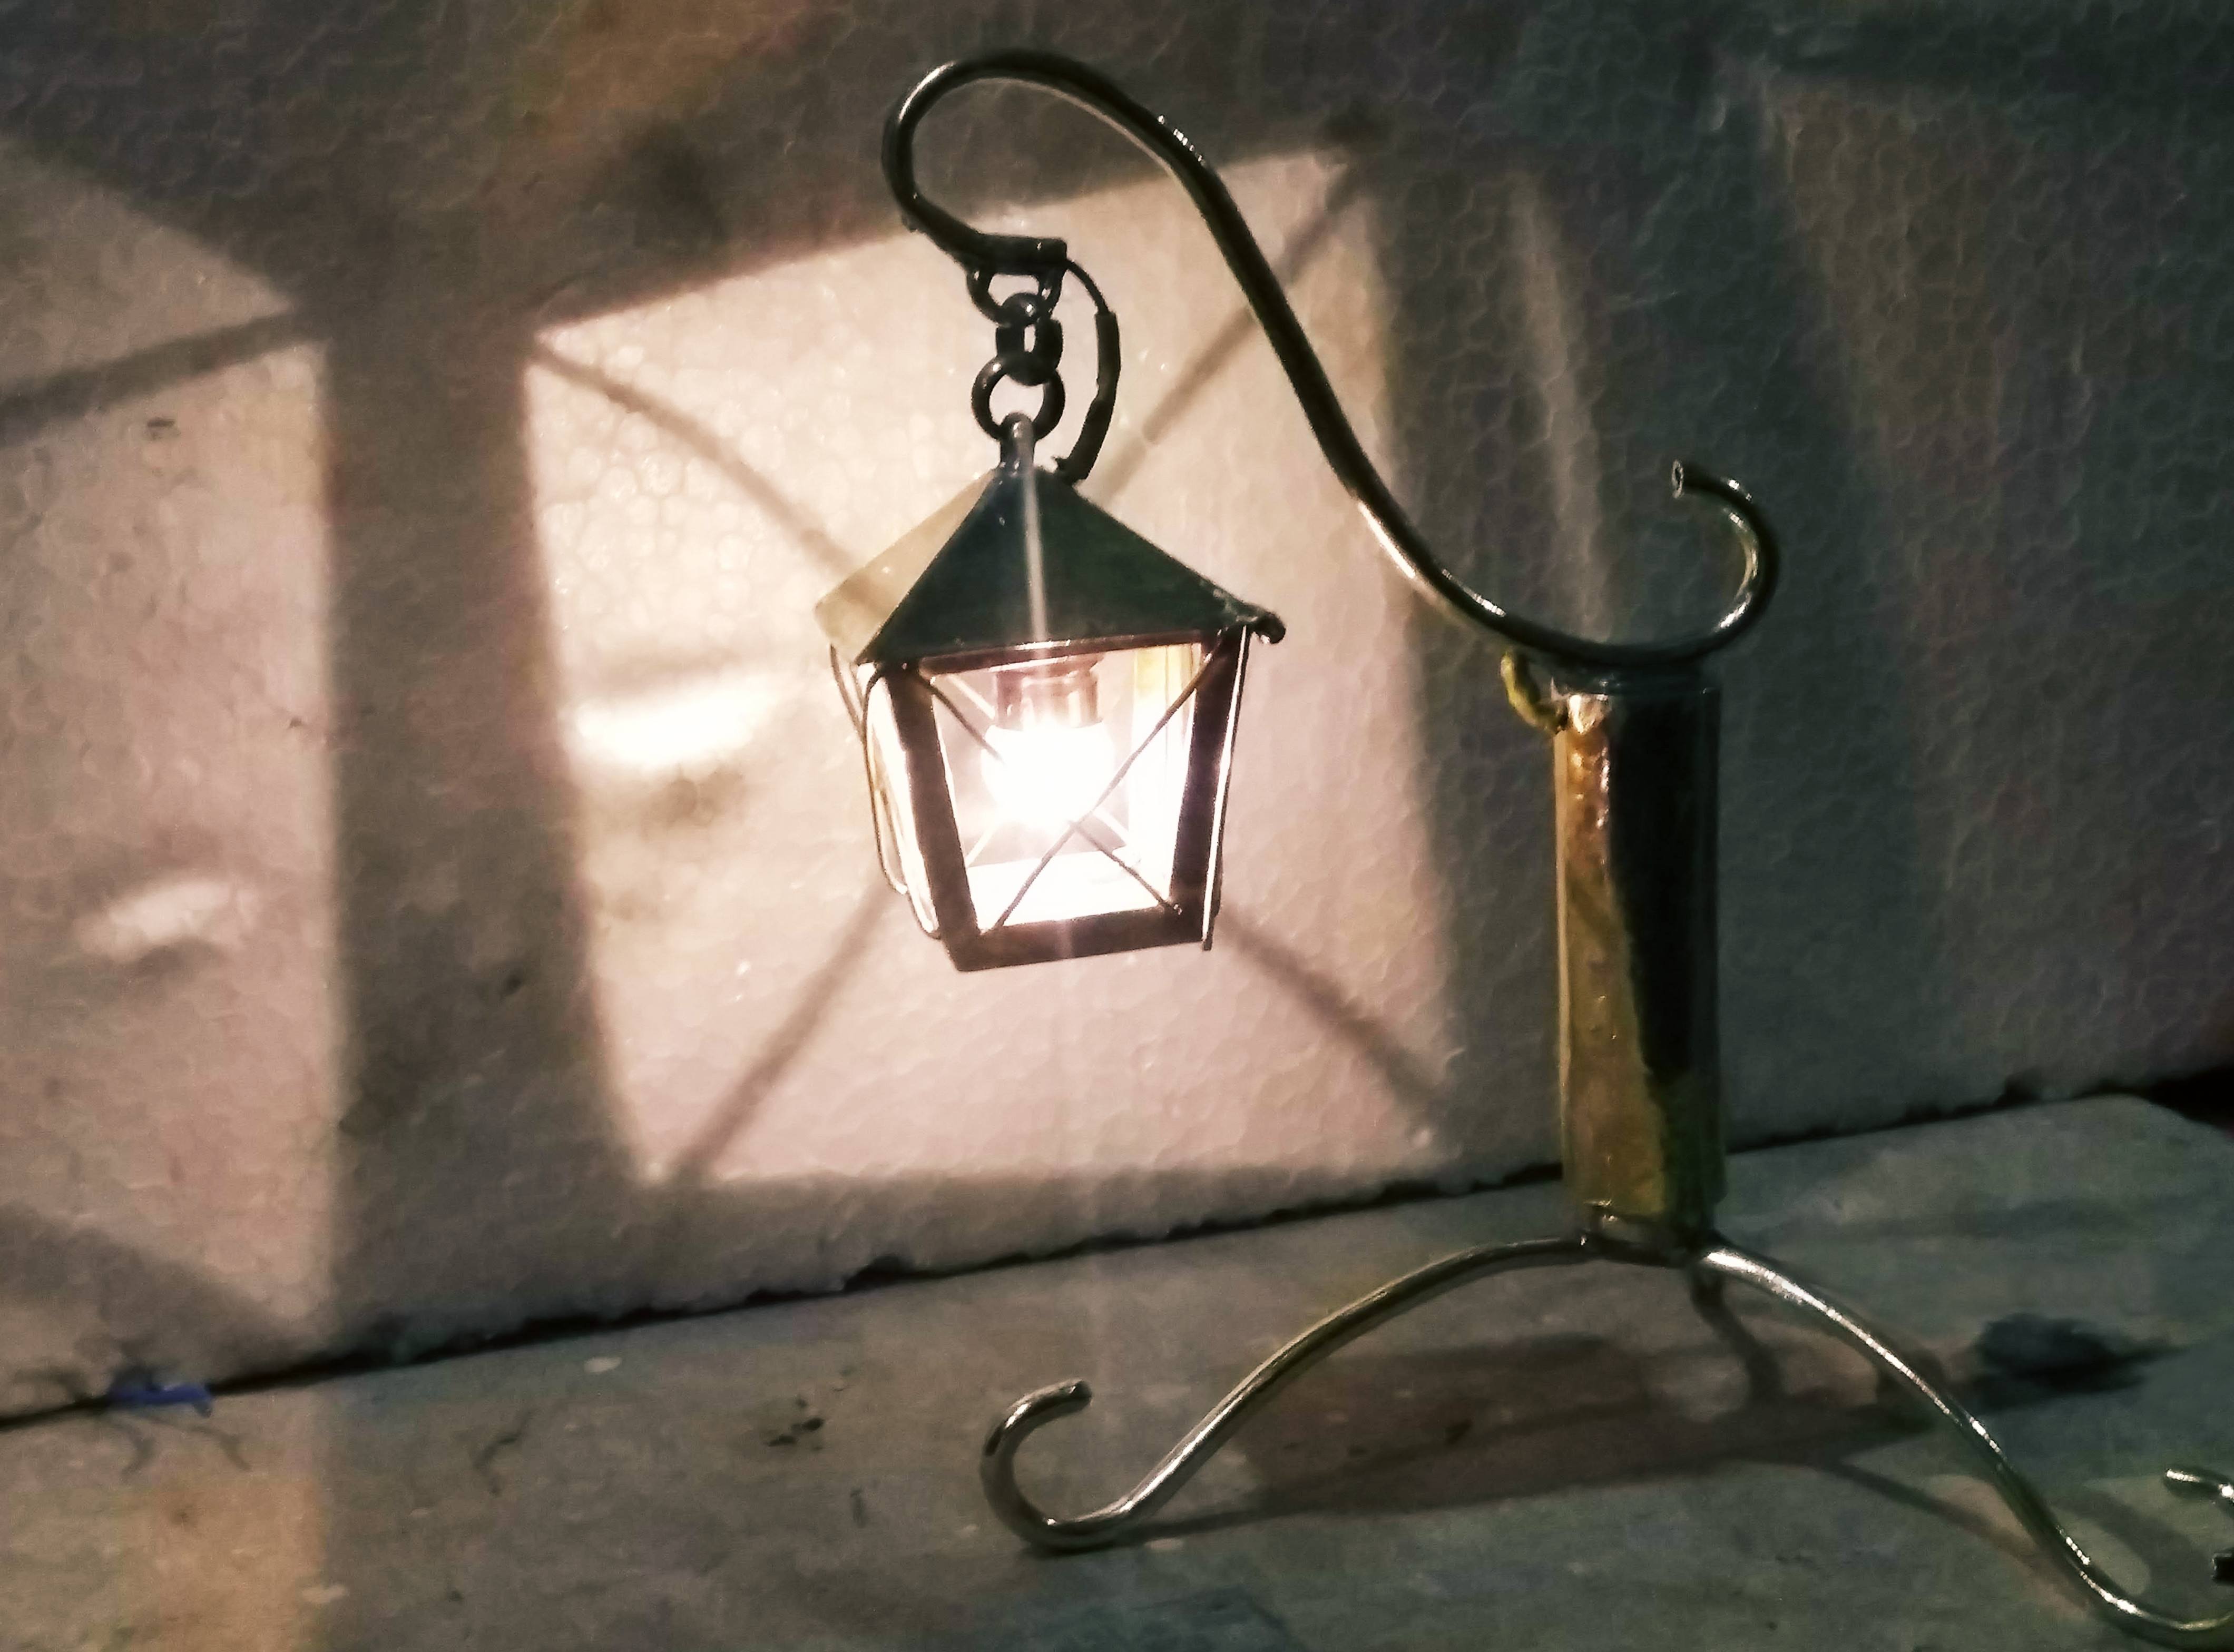
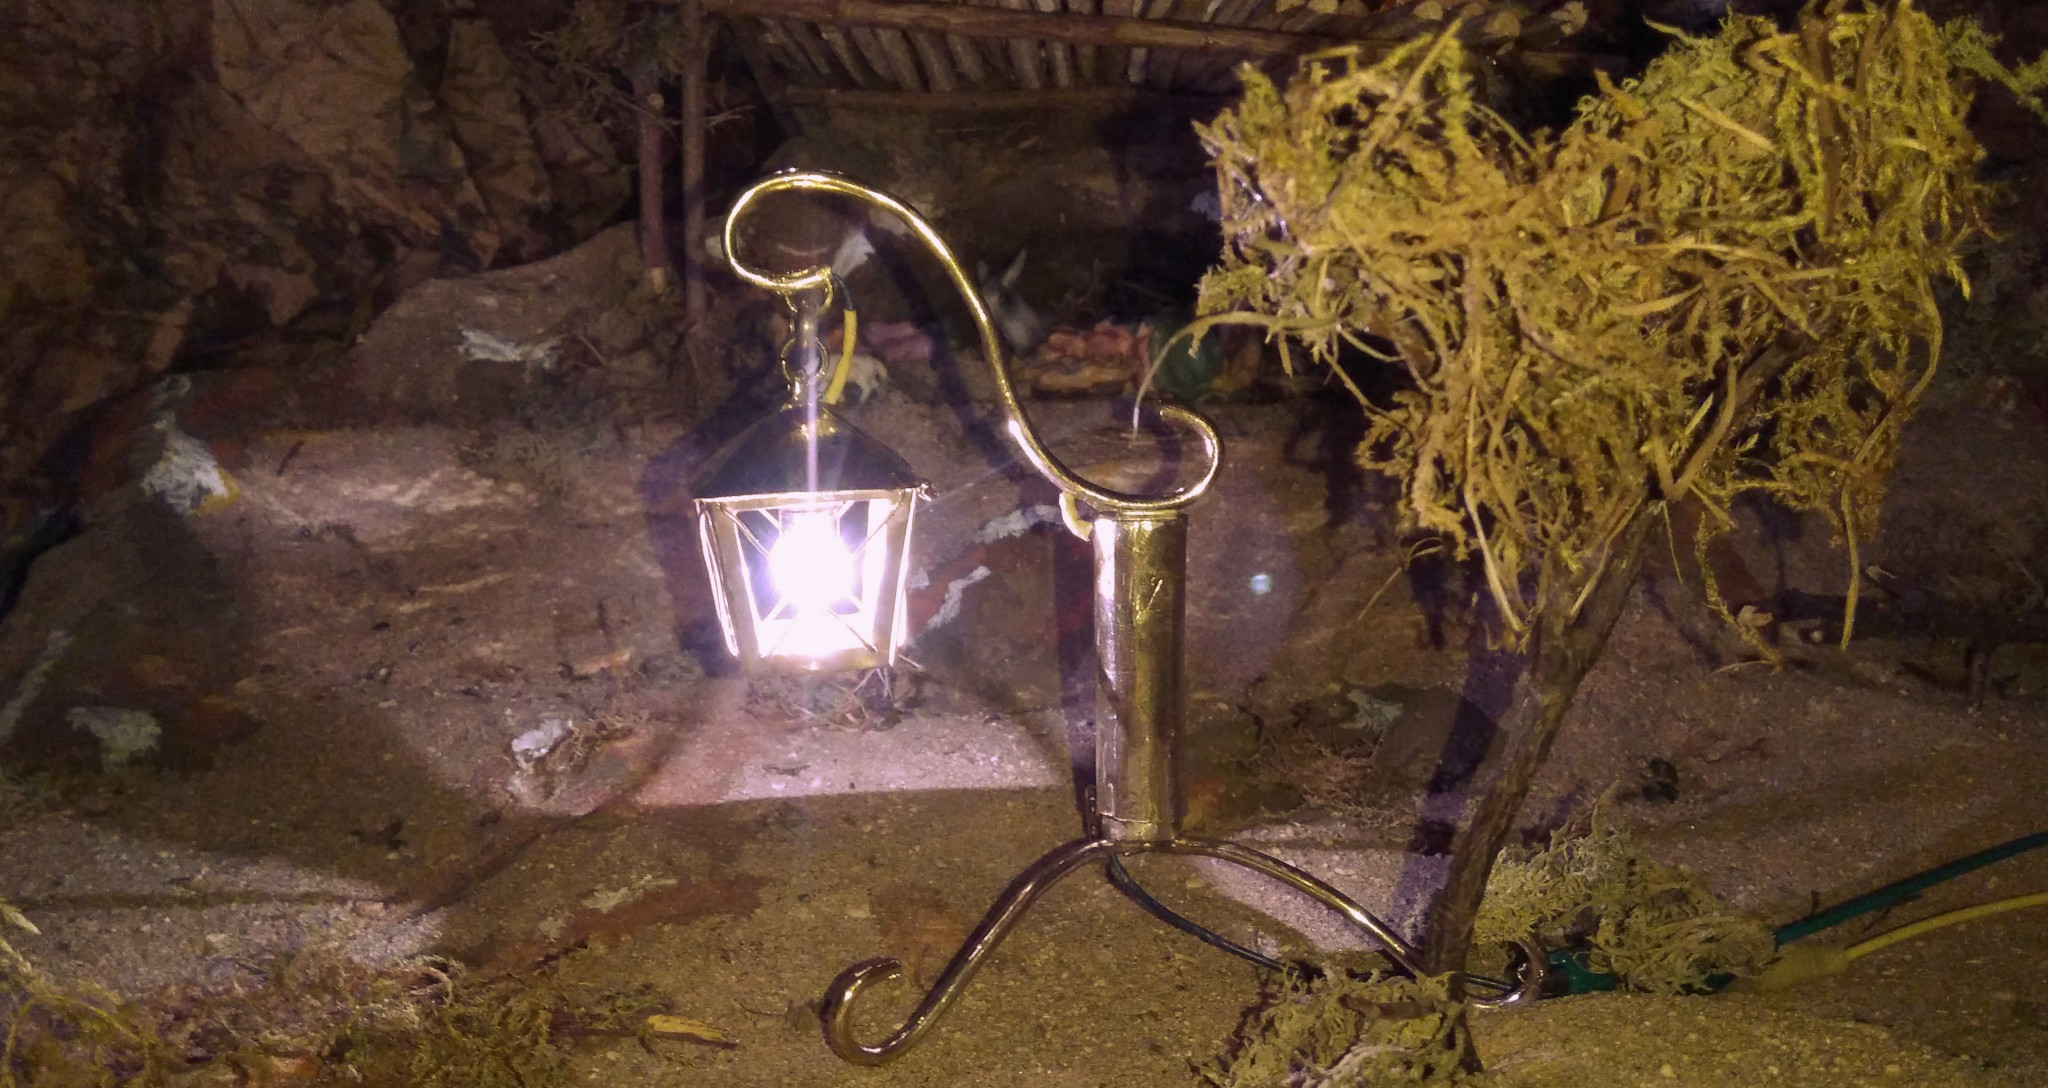
Lastly, a battery holder and a nice, fancy stand. The battery holder was pretty simple: two concentric pipes that slide one onto the other and at the same time provide the main stand structure.
The legs and the arm of the stand instead, required a bit more effort to be formed into pleasing shapes, especially for a non-artist like myself. Overall, however, I liked the result pretty much.
Last touches! A tiny chain to hang the lantern to the stand, a good bit of polishing, and…