Last month I had one of those moments when you find a crapload of old analog pictures and wonder when you will ever take some time to digitize them. This time though, I rolled my sleeves and selected a number of pieces that I wanted to scan, leaving the less important ones behind so that I wouldn’t drown in a pile of work that nobody asked me to do.
Fortunately, a while ago my dad found a cheap film scanner at a thrift store and bought it, well aware that moments such as this come every once in a while.
The Issue
The part of the scanner for digitizing film worked like a charm, with good definition and a proper dynamic range. However, the part for scanning diapositives was really not up to its task. The sensor probably had a very poor dynamic range, which wouldn’t have been such a problem if the exposure meter didn’t average the whole acquisition area. Although I’m not really sure about the reason, faces and other light-colored areas are much brighter than the surroundings in these media, which leads the exposure meter to extremely over-expose any face, given that they usually occupy a relatively small region of the picture compared to the darker surroundings. If you’re wondering why I couldn’t just post-process the image, here’s the reason:
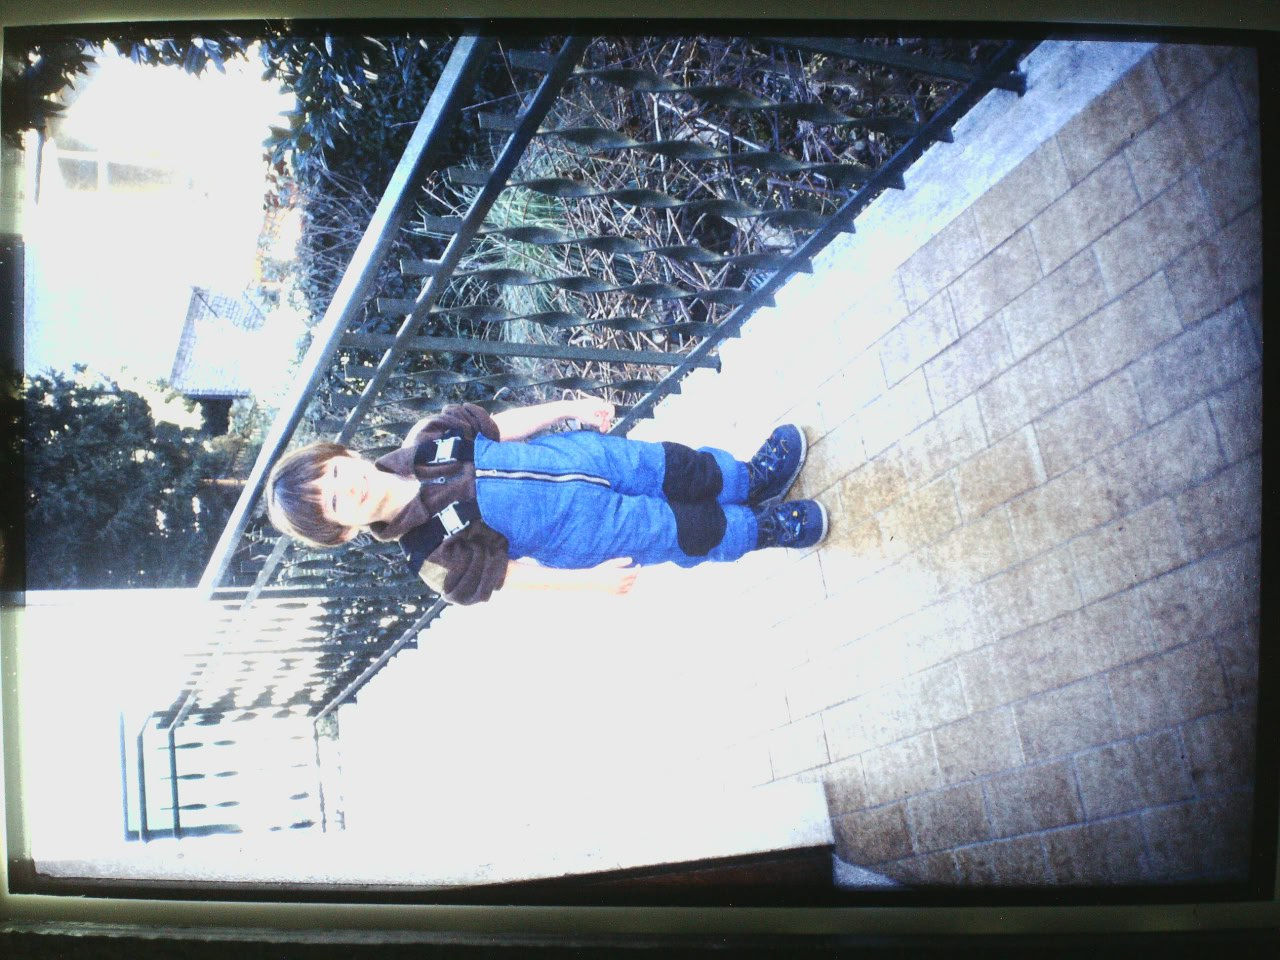
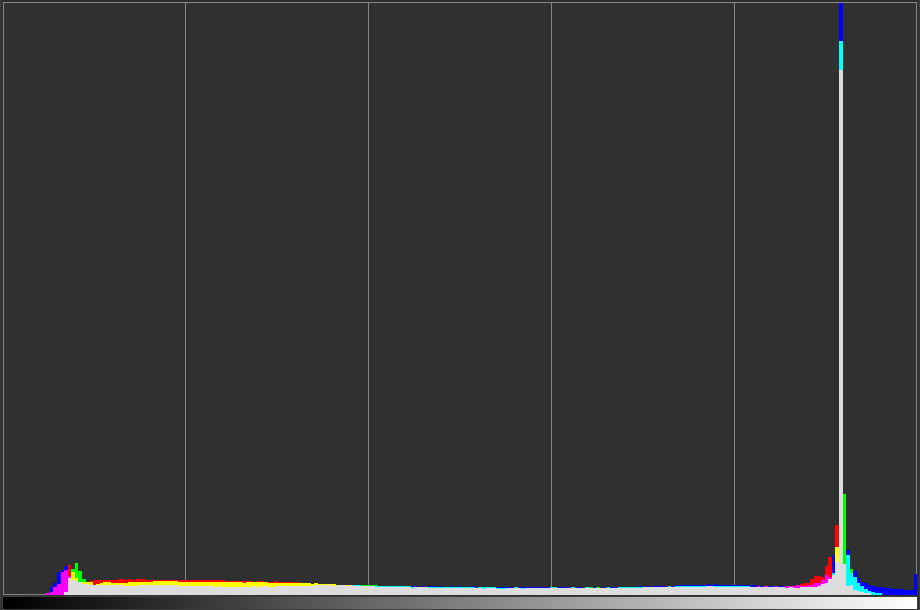
As you can see from the histogram, the original color information is completely unrecoverable (for an 8-bit RGB file), especially for the bleached out areas.
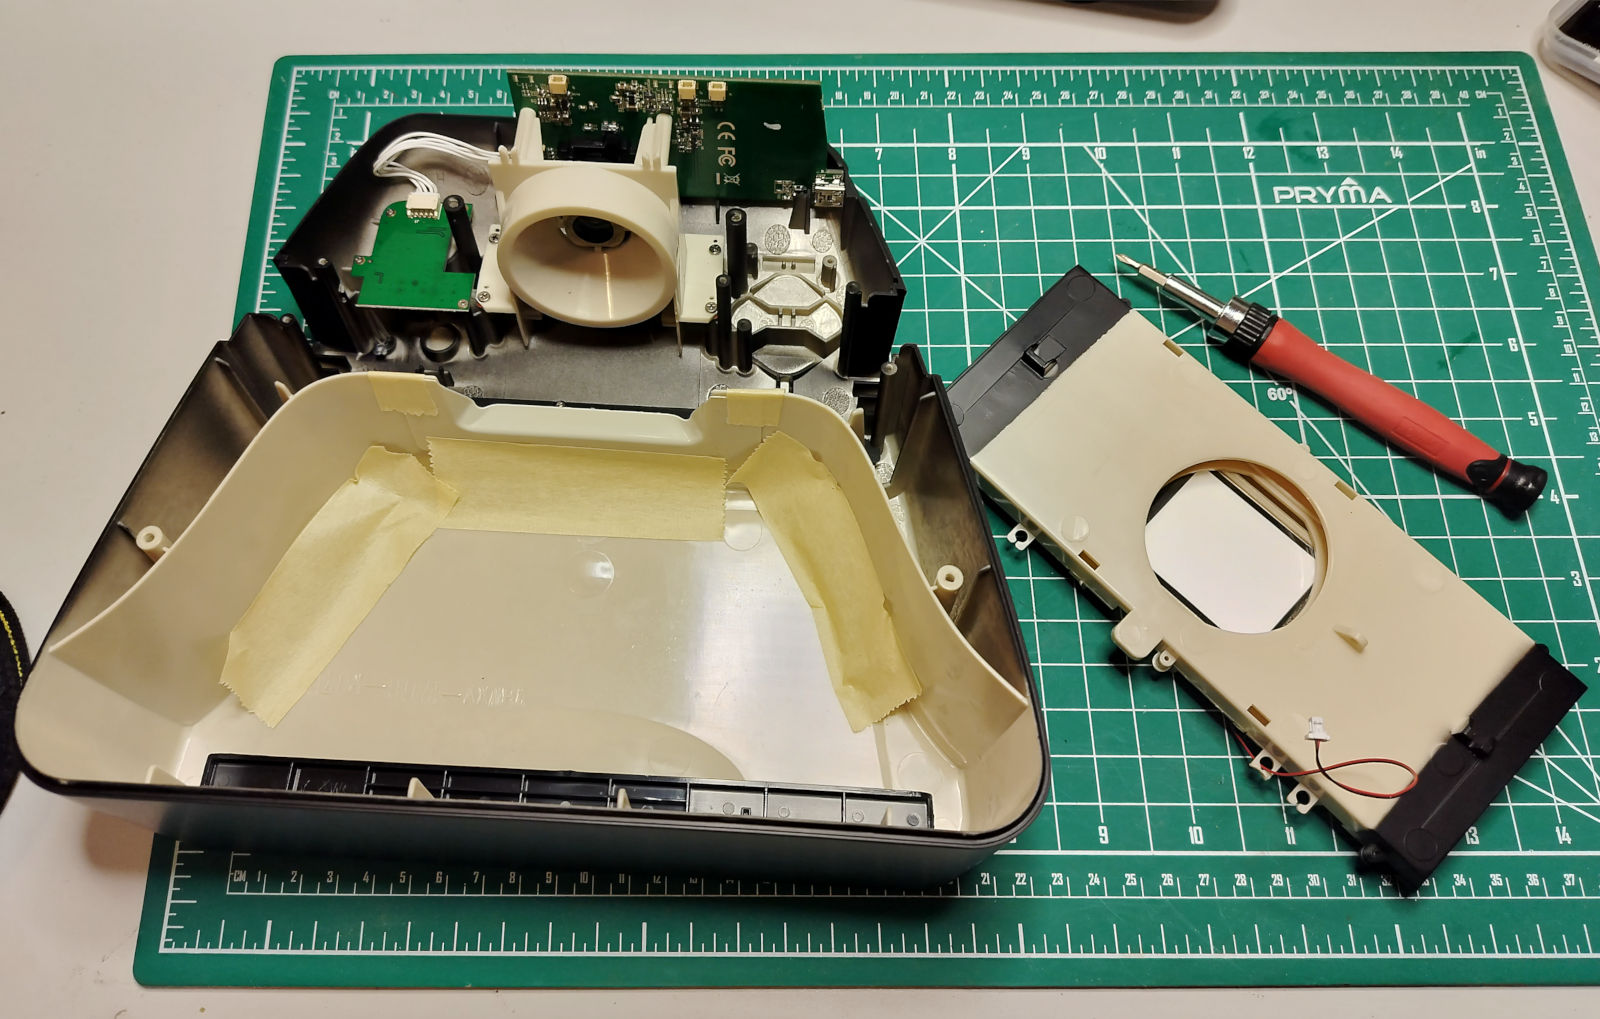
I did many experiments with both software and the actual machine, but the driver didn’t allow to modify acquisition parameters such as exposure compensation, and the disassembled machine didn’t offer much room for improvement. I could only think of creating small graduated filters of different shapes, but that’s a whole other day of messing around which didn’t work for various reasons.
The Solution
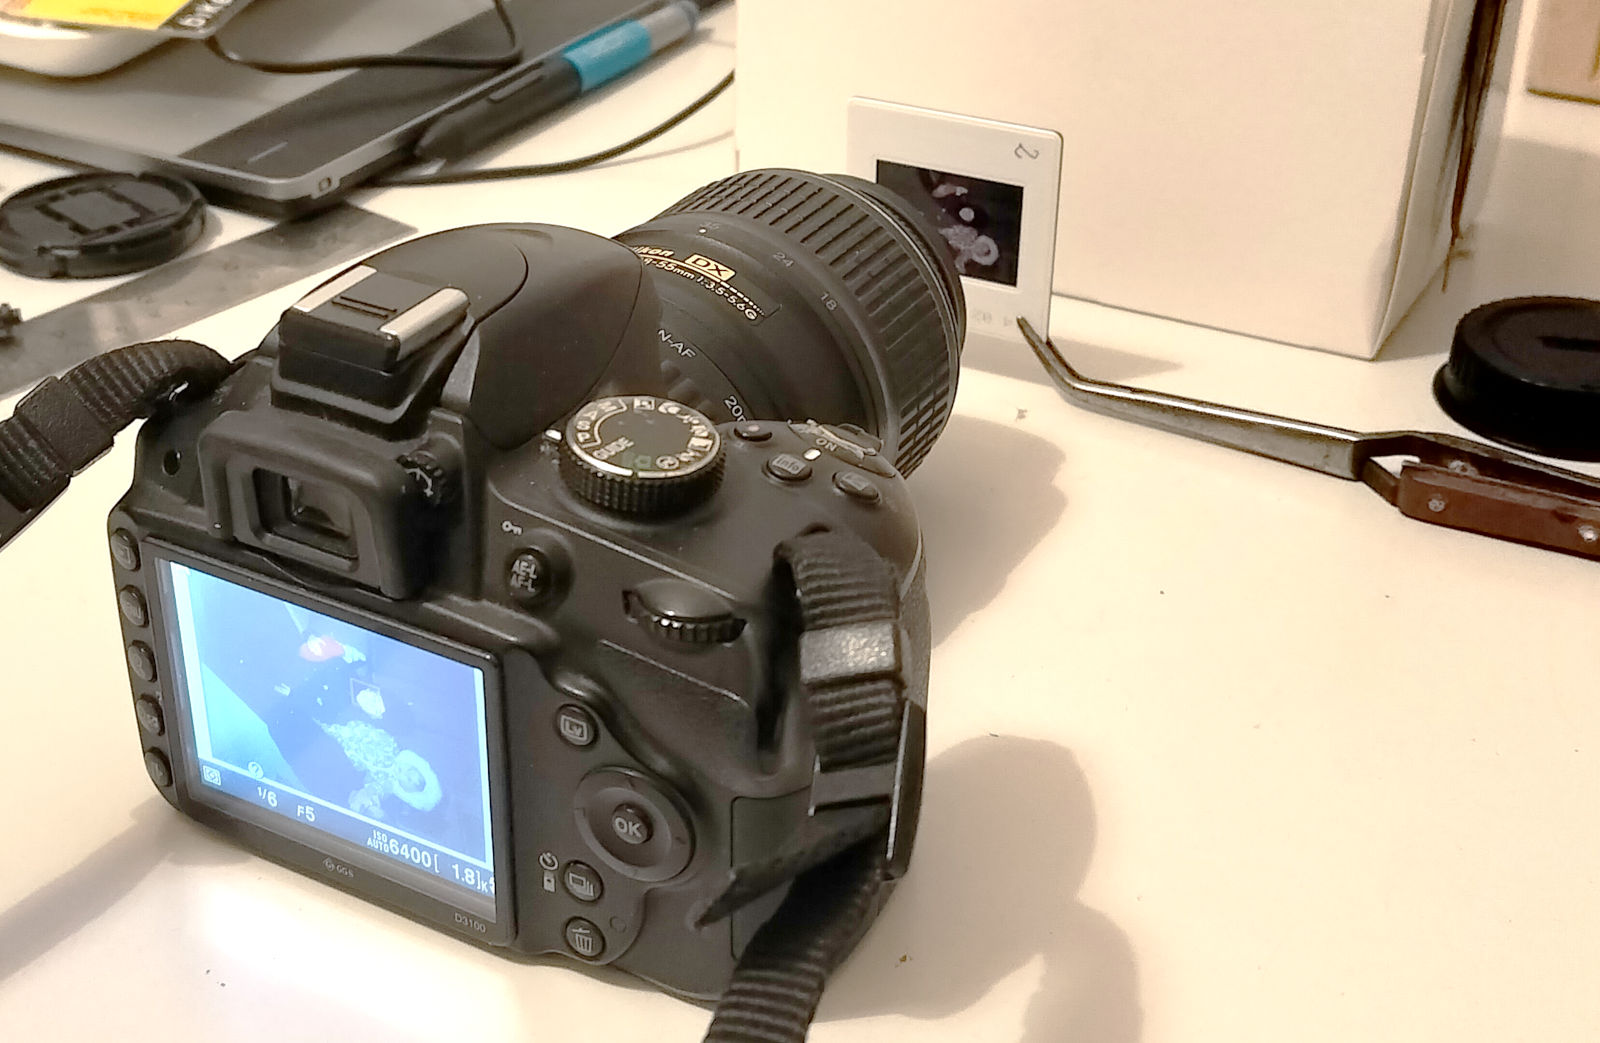
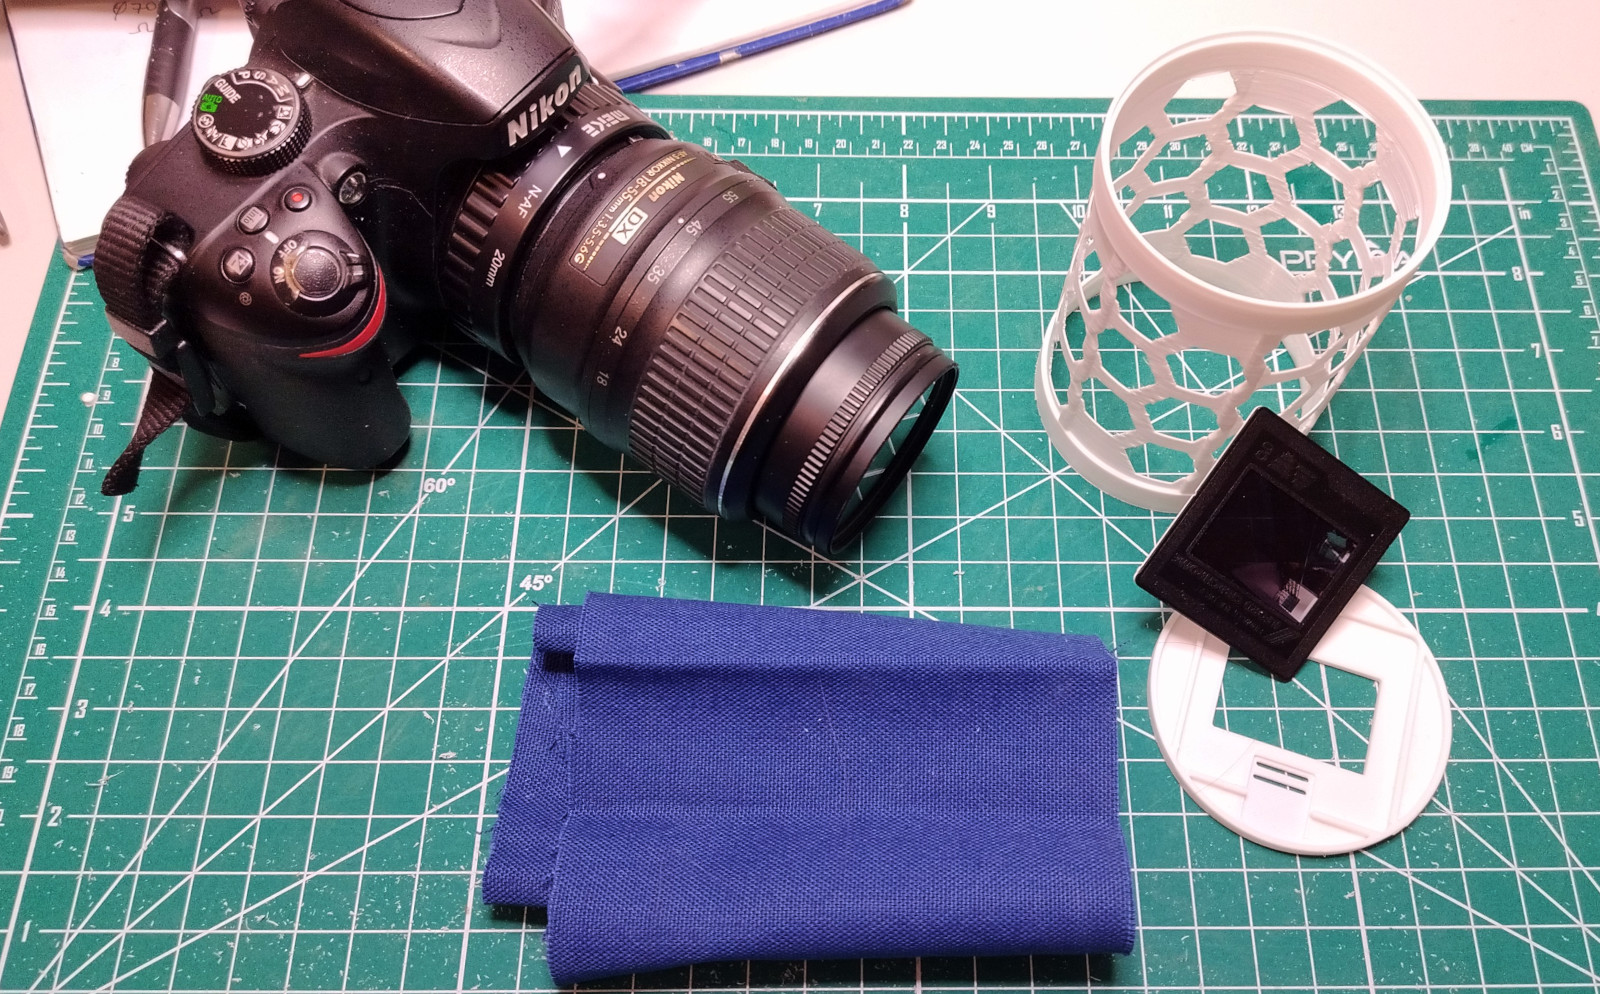
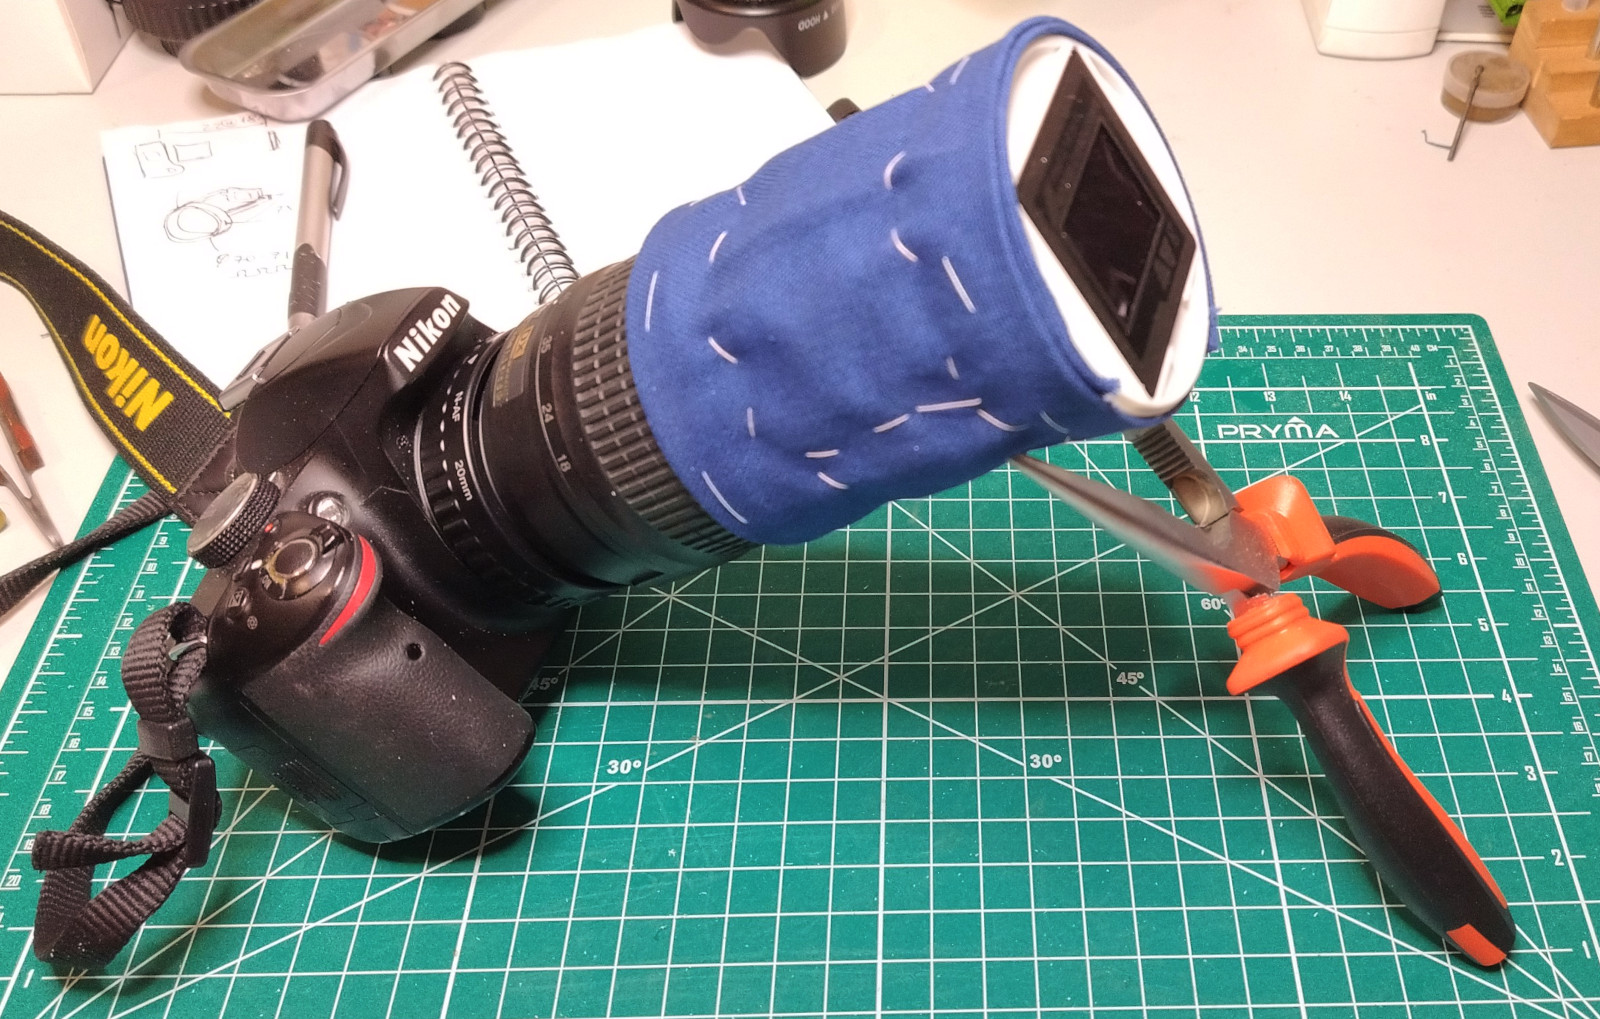
After some fiddling with webcams and such, I felt the best solution was to create an attachment for my DSLR. Using a 20mm macro ring on a 18-55mm zoom lens I could position a slide at about 7cm from the objective and get perfect focus and complete sensor coverage.
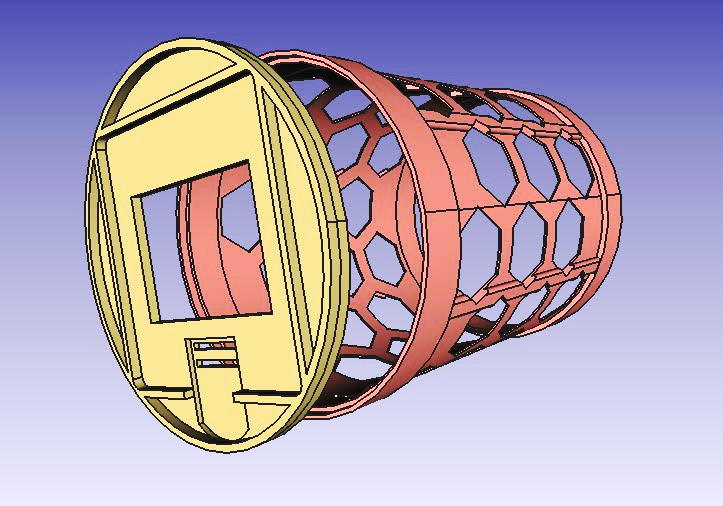
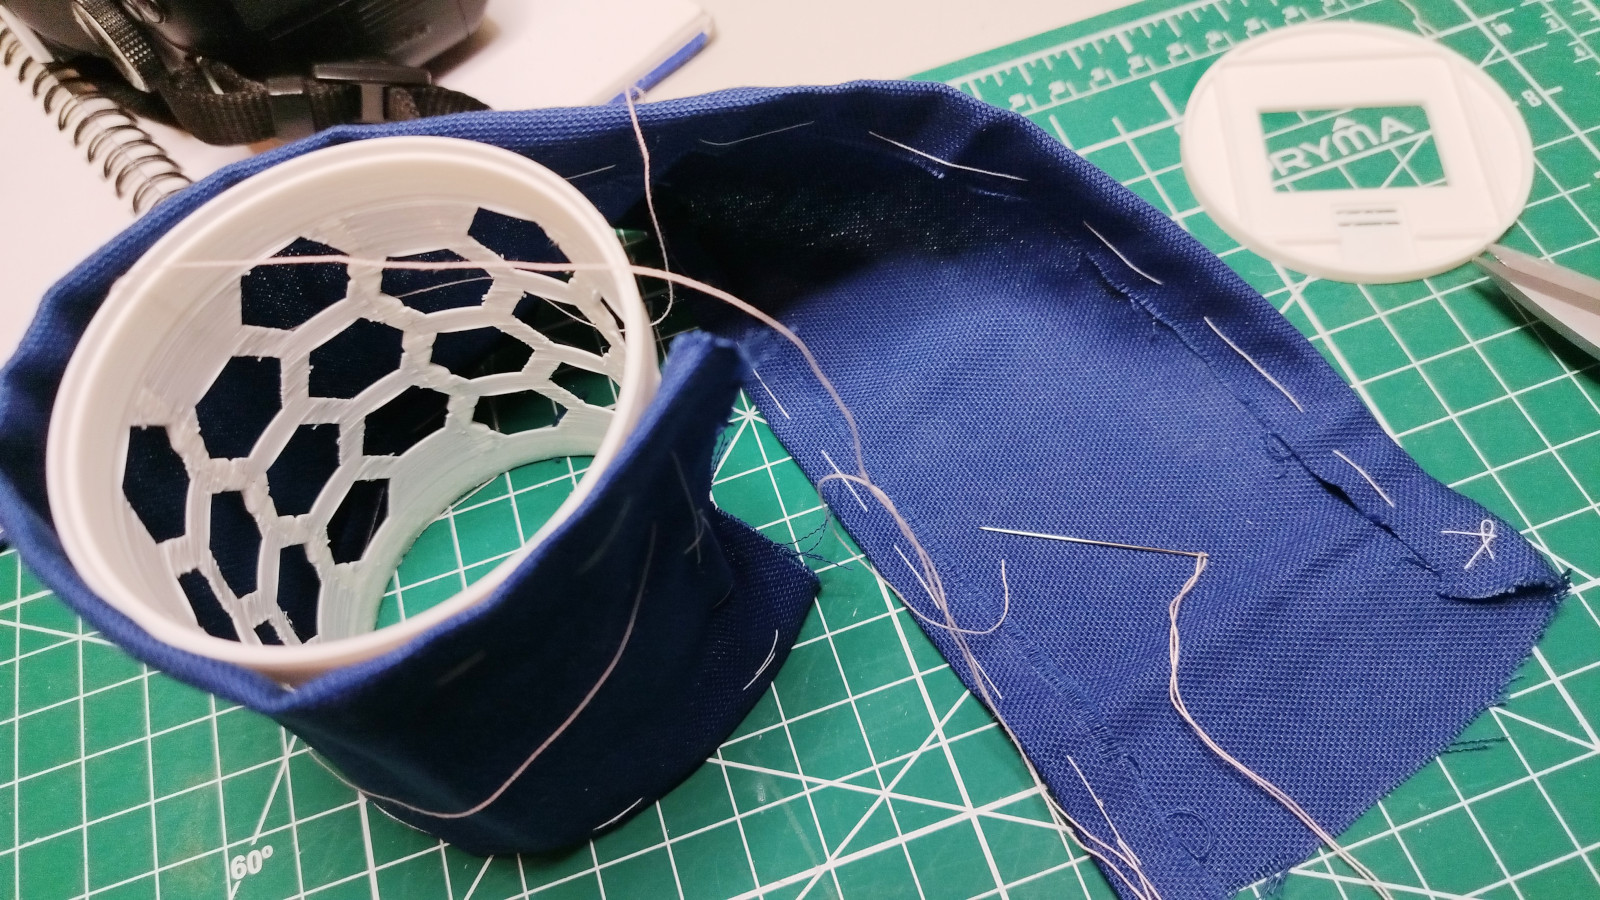
Instead of a screw-in attachment I prototyped a cylinder that could fit outside the objective, so that I could have some room for moving it in case the focus distance didn’t come out ideal. I only had white PLA filament, which was kind of a problem since light penetrating from the sides of the cylinder can drastically decrease the contrast of the lit up slide. Instead of printing a thick and extremely wasteful outer wall, I went the opposite way. I designed a 0.5mm thick wall covered in big holes, with just enough plastic in 6 vertical beams to hold it in shape, that I would later cover with some dark fabric I had laying around.
The Result
For reference, this is a comparison between the same slide captured without and with the darkening cloth (the latter also has a couple of minor edits; it’s the final result):
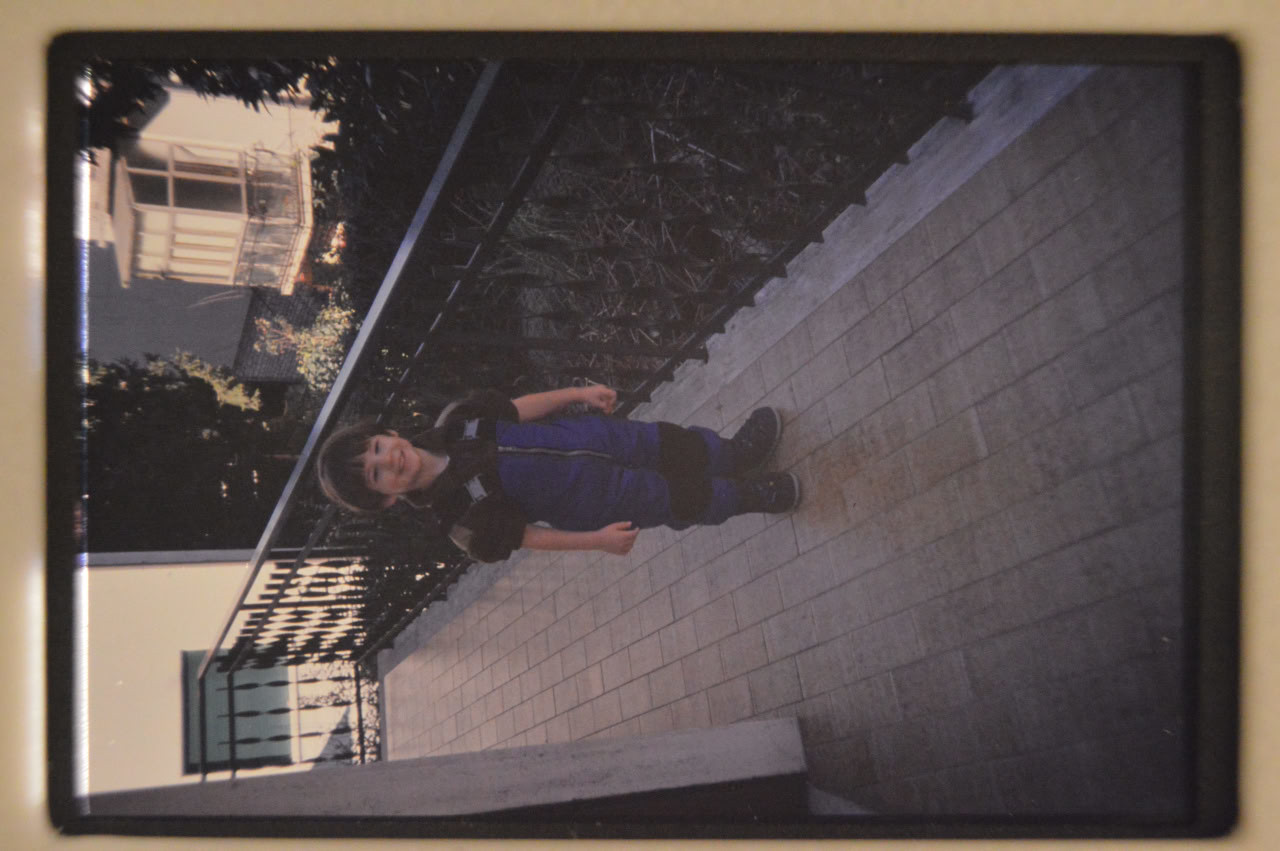
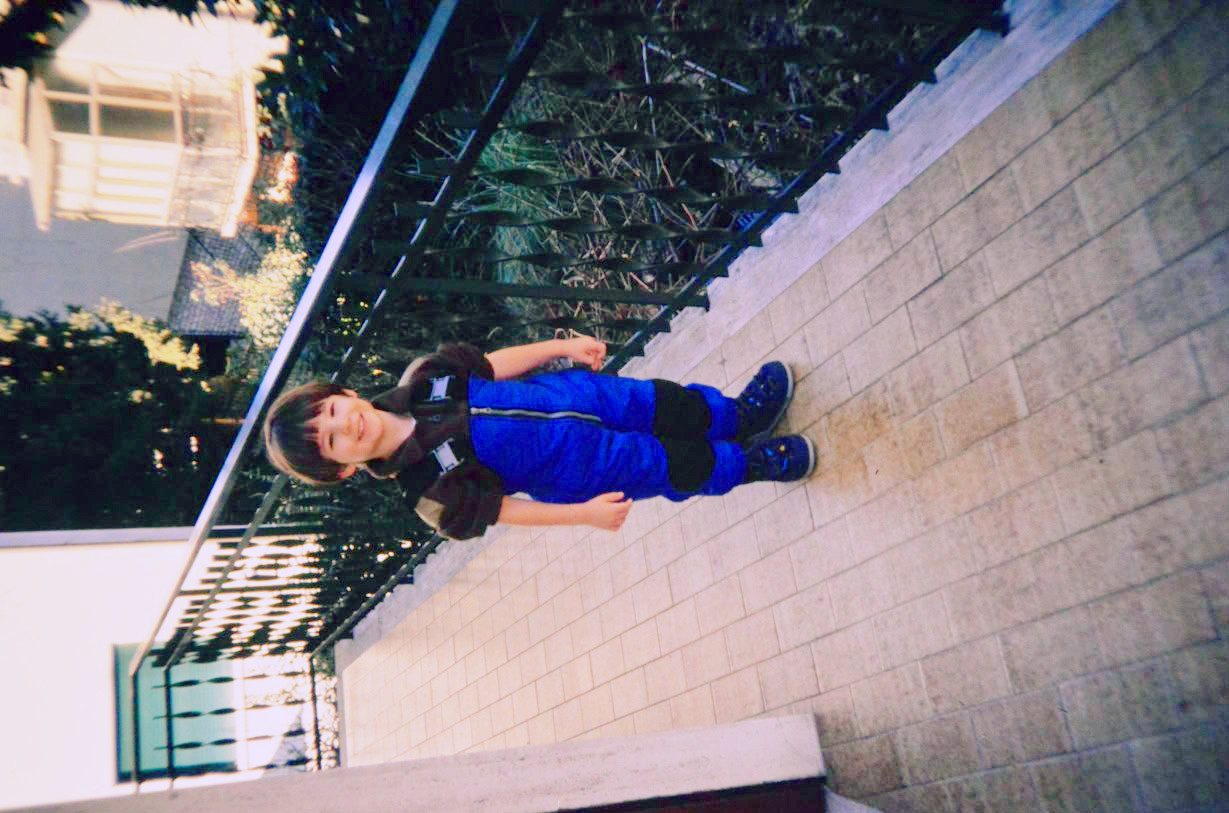
As you can probably guess, also their histograms are very eloquent on the drastic improvement:
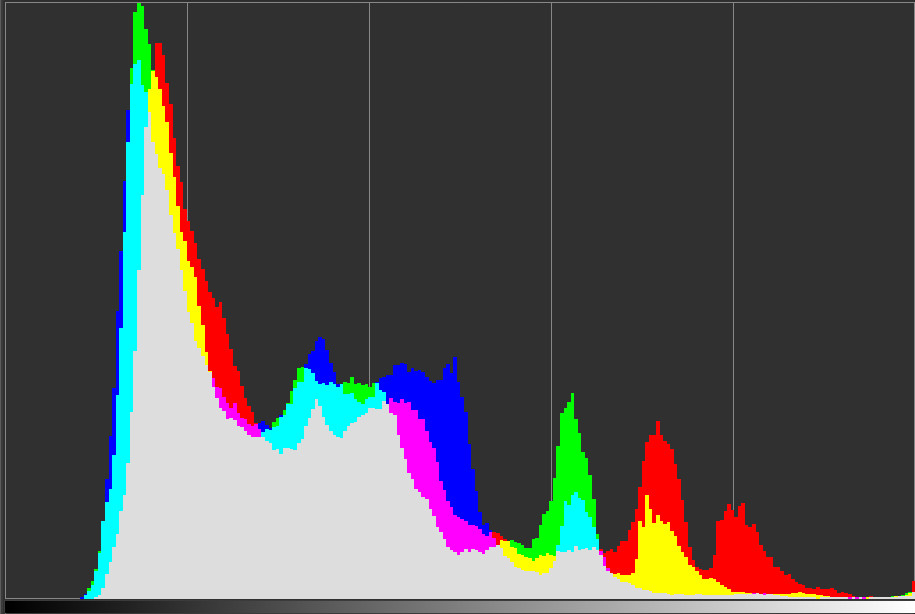
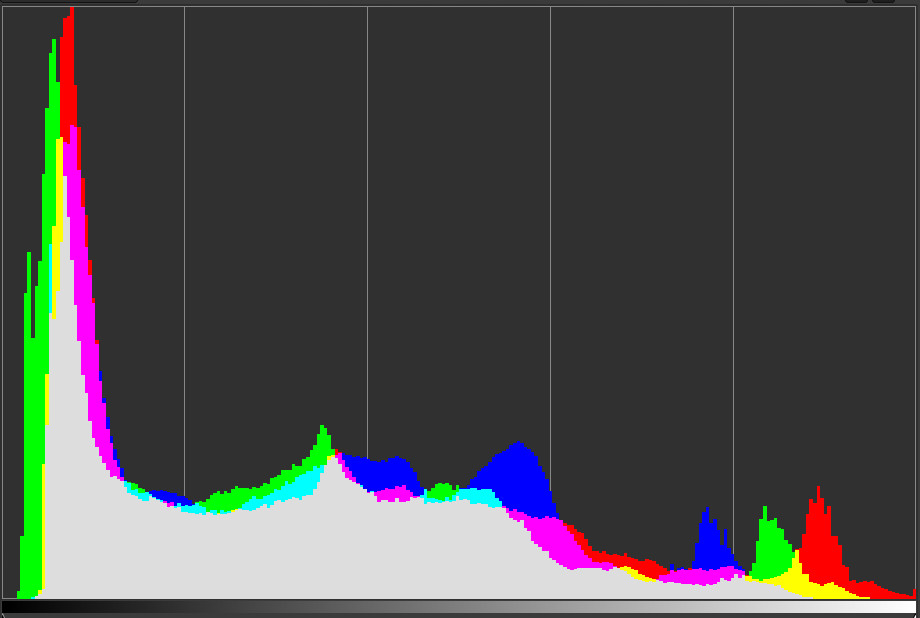
But most importantly, now every acquisition that doesn’t come out perfect, has plenty of room for adjustment from the source.